
Building mobile apps with Craftkite
By The Craftkite team ·
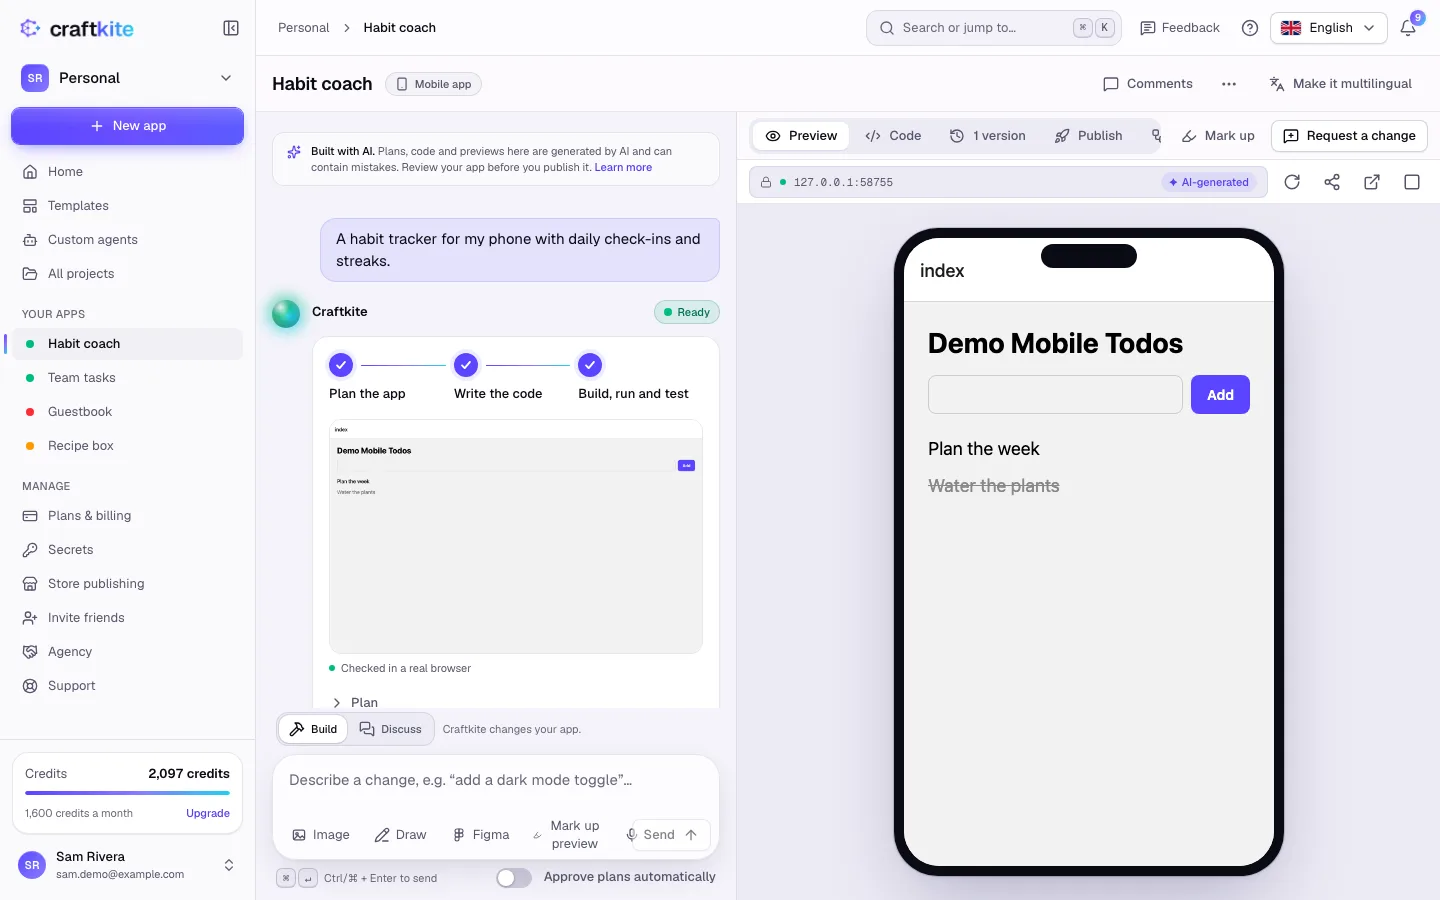
Mobile apps follow the same flow as web apps in Craftkite: describe, approve the plan, preview, change. One project runs on both iPhone and Android.
Start with “Mobile app”
On the home screen, describe your app and choose Mobile app before you click Build it. The plan describes the screens and navigation of a phone app, and the agent builds and tests it like any other.
Try it on a real phone
The studio previews mobile apps in a phone-sized frame. To hold it in your hand, publish the app and scan the QR code under Open it on your phone with your phone’s camera.
Send it to the stores, under your name
When the app is ready for real users, Craftkite builds it for the App Store or Google Play and sends it to your own developer accounts, so the app is published under your name and you keep full control of the listing.
- Connect your App Store Connect key and Google Play service account once, under Store publishing. They are stored encrypted and used only to send your builds.
- In the project, choose the store, check the app name, bundle ID or package name and version, and click Build for the store.
- iOS builds go to TestFlight; Android builds go to the Google Play track you choose, from internal testing to production.
Which plans include store builds is shown on the pricing page. Each build uses credits, which are returned if the build fails.
The same tools as web apps
Mobile apps can have a database and sign-in, use integrations such as payments or maps, and are kept in versions you can restore. Read the details in the help center: Build and test a mobile app and Release to the App Store and Google Play.