
Publish to your own hosts
Send your app to your own Vercel, Netlify or Cloudflare Pages account, or to your own server over SSH.
Updated October 15, 2026
Besides Craftkite hosting, you can publish a web app to hosting you already use. Craftkite builds the app and sends it with your own account; you can publish by hand or automatically after every change. Publishing to your own hosts is included in paid plans (see Pricing).
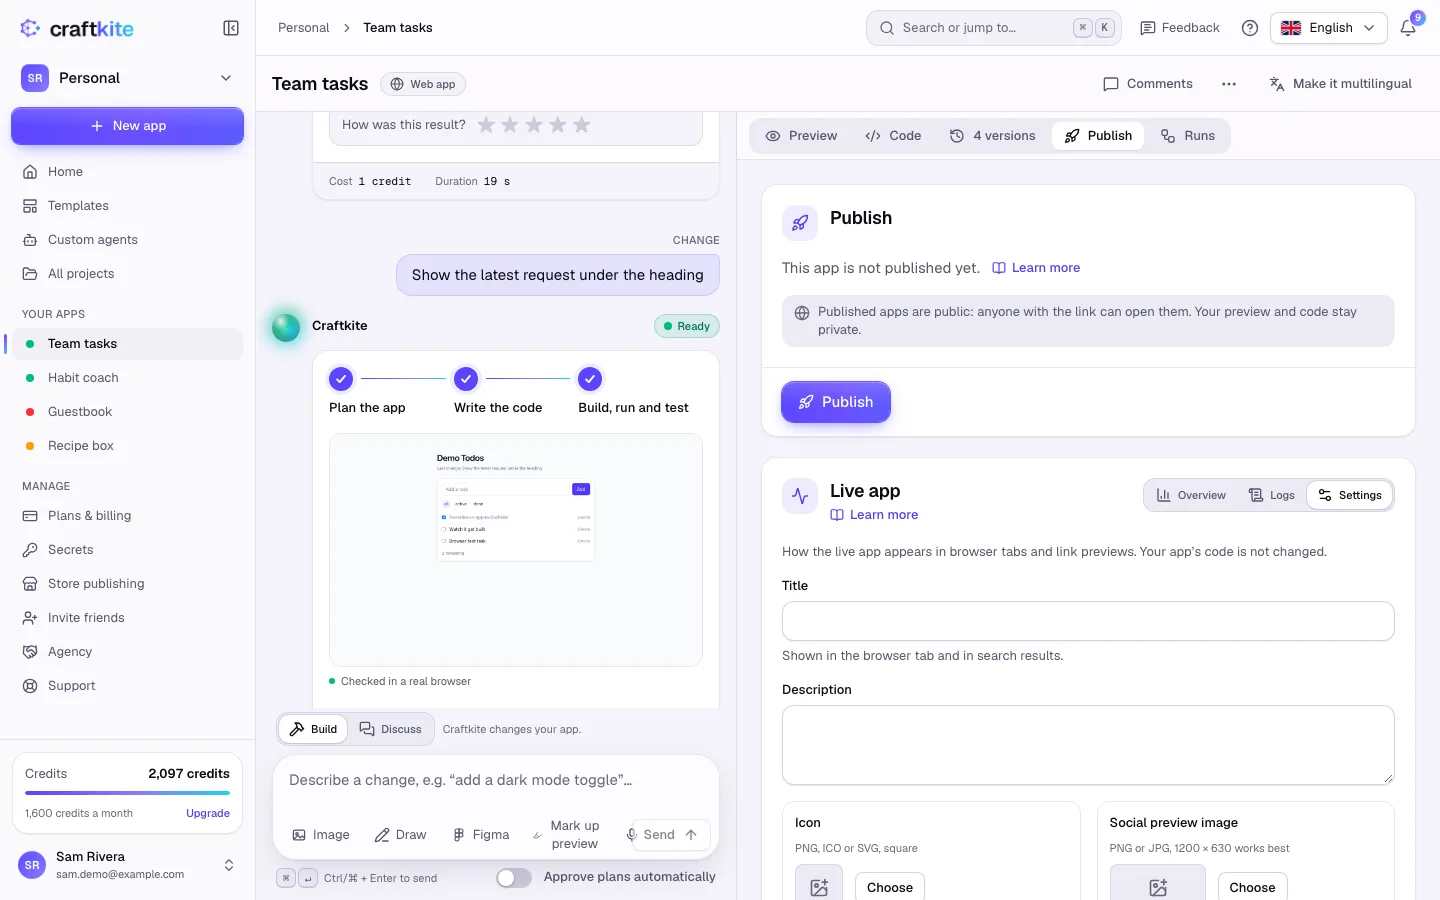
Step 1: connect an account
- Open the project’s Publish tab and find Publishing.
- Click Connect next to the provider and paste its token or key.
- Click Check and save. Craftkite checks the connection before it saves it.
Where to get the token:
- Vercel: Account Settings → Tokens. For a Vercel team, also enter the team ID.
- Netlify: User settings → Applications → Personal access tokens.
- Cloudflare Pages: My Profile → API Tokens, with the Cloudflare Pages: Edit permission, plus your account ID.
- Your own server (SSH): the host name, port, a deploy user and its private key (recommended) or password.
A connection can be used by all your projects. In a team, owners and admins manage the team’s connections and every editor’s publishes use them.
Step 2: choose targets
For each target, pick the connection and the project or folder there, then click Publish now.
| Target | What Craftkite sends | Good for |
|---|---|---|
| Vercel | Next.js apps as source (Vercel builds them); Expo web as files | Apps that use server features |
| Netlify | A static export built by Craftkite | Static sites and single pages |
| Cloudflare Pages | A static export built by Craftkite | Static sites on a global network |
| Your own server | A static export, or the app’s source in Node mode | Full control on your own machine |
An app that uses server features (API routes, server rendering) cannot become a static export: choose Vercel or your own server in Node mode. For Vercel source builds, Craftkite also sets the app’s environment variables on the Vercel project.
Your own server
Each publish uploads into <folder>/releases/<id> and then points <folder>/current at it in one step, so visitors never see a half-uploaded app. The last 5 releases are kept for rollbacks.
The first connection pins the server’s host key; if the key changes later, publishing stops until you check the connection again. Only public addresses can be used.
Static mode
Let your web server serve the current folder. An nginx example:
server {
    listen 80;
    server_name app.example.com;
    root /var/www/myapp/current;
    location / {
        try_files $uri $uri/ /index.html;
    }
}
Node mode
Craftkite uploads the app’s source and then runs your one-line command in the new release, for example:
npm ci && npm run build && pm2 reload myapp
Start the app once yourself so the command has something to reload, and keep its environment variables on the server:
cd /var/www/myapp/current && pm2 start npm --name myapp -- start
Rollback
Every publish is listed with its status and log. Click Roll back on an earlier one to send it again; rollbacks use no credits. On your own server, a rollback switches current back to a kept release.
Credits
Each publish to your own host uses 2 credits (the current price is shown next to the button). If the publish fails, the credits are returned. Store builds keep their own price.
Apps with a Craftkite backend
If your app uses a Craftkite database, sign-in or file storage, that backend stays on Craftkite, so your own web hosts are not offered for it. Publish it on Craftkite hosting with a custom domain, or export it to GitHub to run everything yourself.
Security
- Tokens and keys are stored encrypted and shown only as a masked hint. They are used only while publishing.
- Logs never show tokens, keys or passwords.
- Disconnect deletes a connection; deleting your account deletes all of them.